Get Started with APPEC

Here we explain how to get started with APPEC correctly and how to create a good structure to give you an even better overview. We recommend to do the first steps on your computer, because the user interface is a bit clearer and you can work faster there than on mobile devices.

Overview

1. Registration
2. Setup settings
3. Import models
4. Add missing categories
5. Add missing manufacturers
6. Add missing models
7. Add folders
8. Add articles
9. Add employees
10. Starting with inspections
11. Export data

1. Registration

The first thing you need to do is register with APPEC. For this you go to the link: https://app.appec.it/register. There you enter your name or company name, an email address to which you have access and a secure password. After that you have to accept the terms and conditions and privacy policy.

Once you have successfully completed the form, you can test APPEC for 90 days free of charge. The account must be confirmed via a transmitted email within 7 days, otherwise the account will be deactivated.

If you want to subscribe to APPEC, you have to do it within these 90 days, otherwise the trial version will be deleted.

APPEC Anleitung Registrierung en

2. Setup settings

First you choose the right interface language, you can change it in the menu: there are de (German), it (Italian), en (English) and bz (Bolzano, German interface - contents are bilingual German and Italian).

Note: Since the data of the central database is in the set language, it is important to set the correct language immediately.

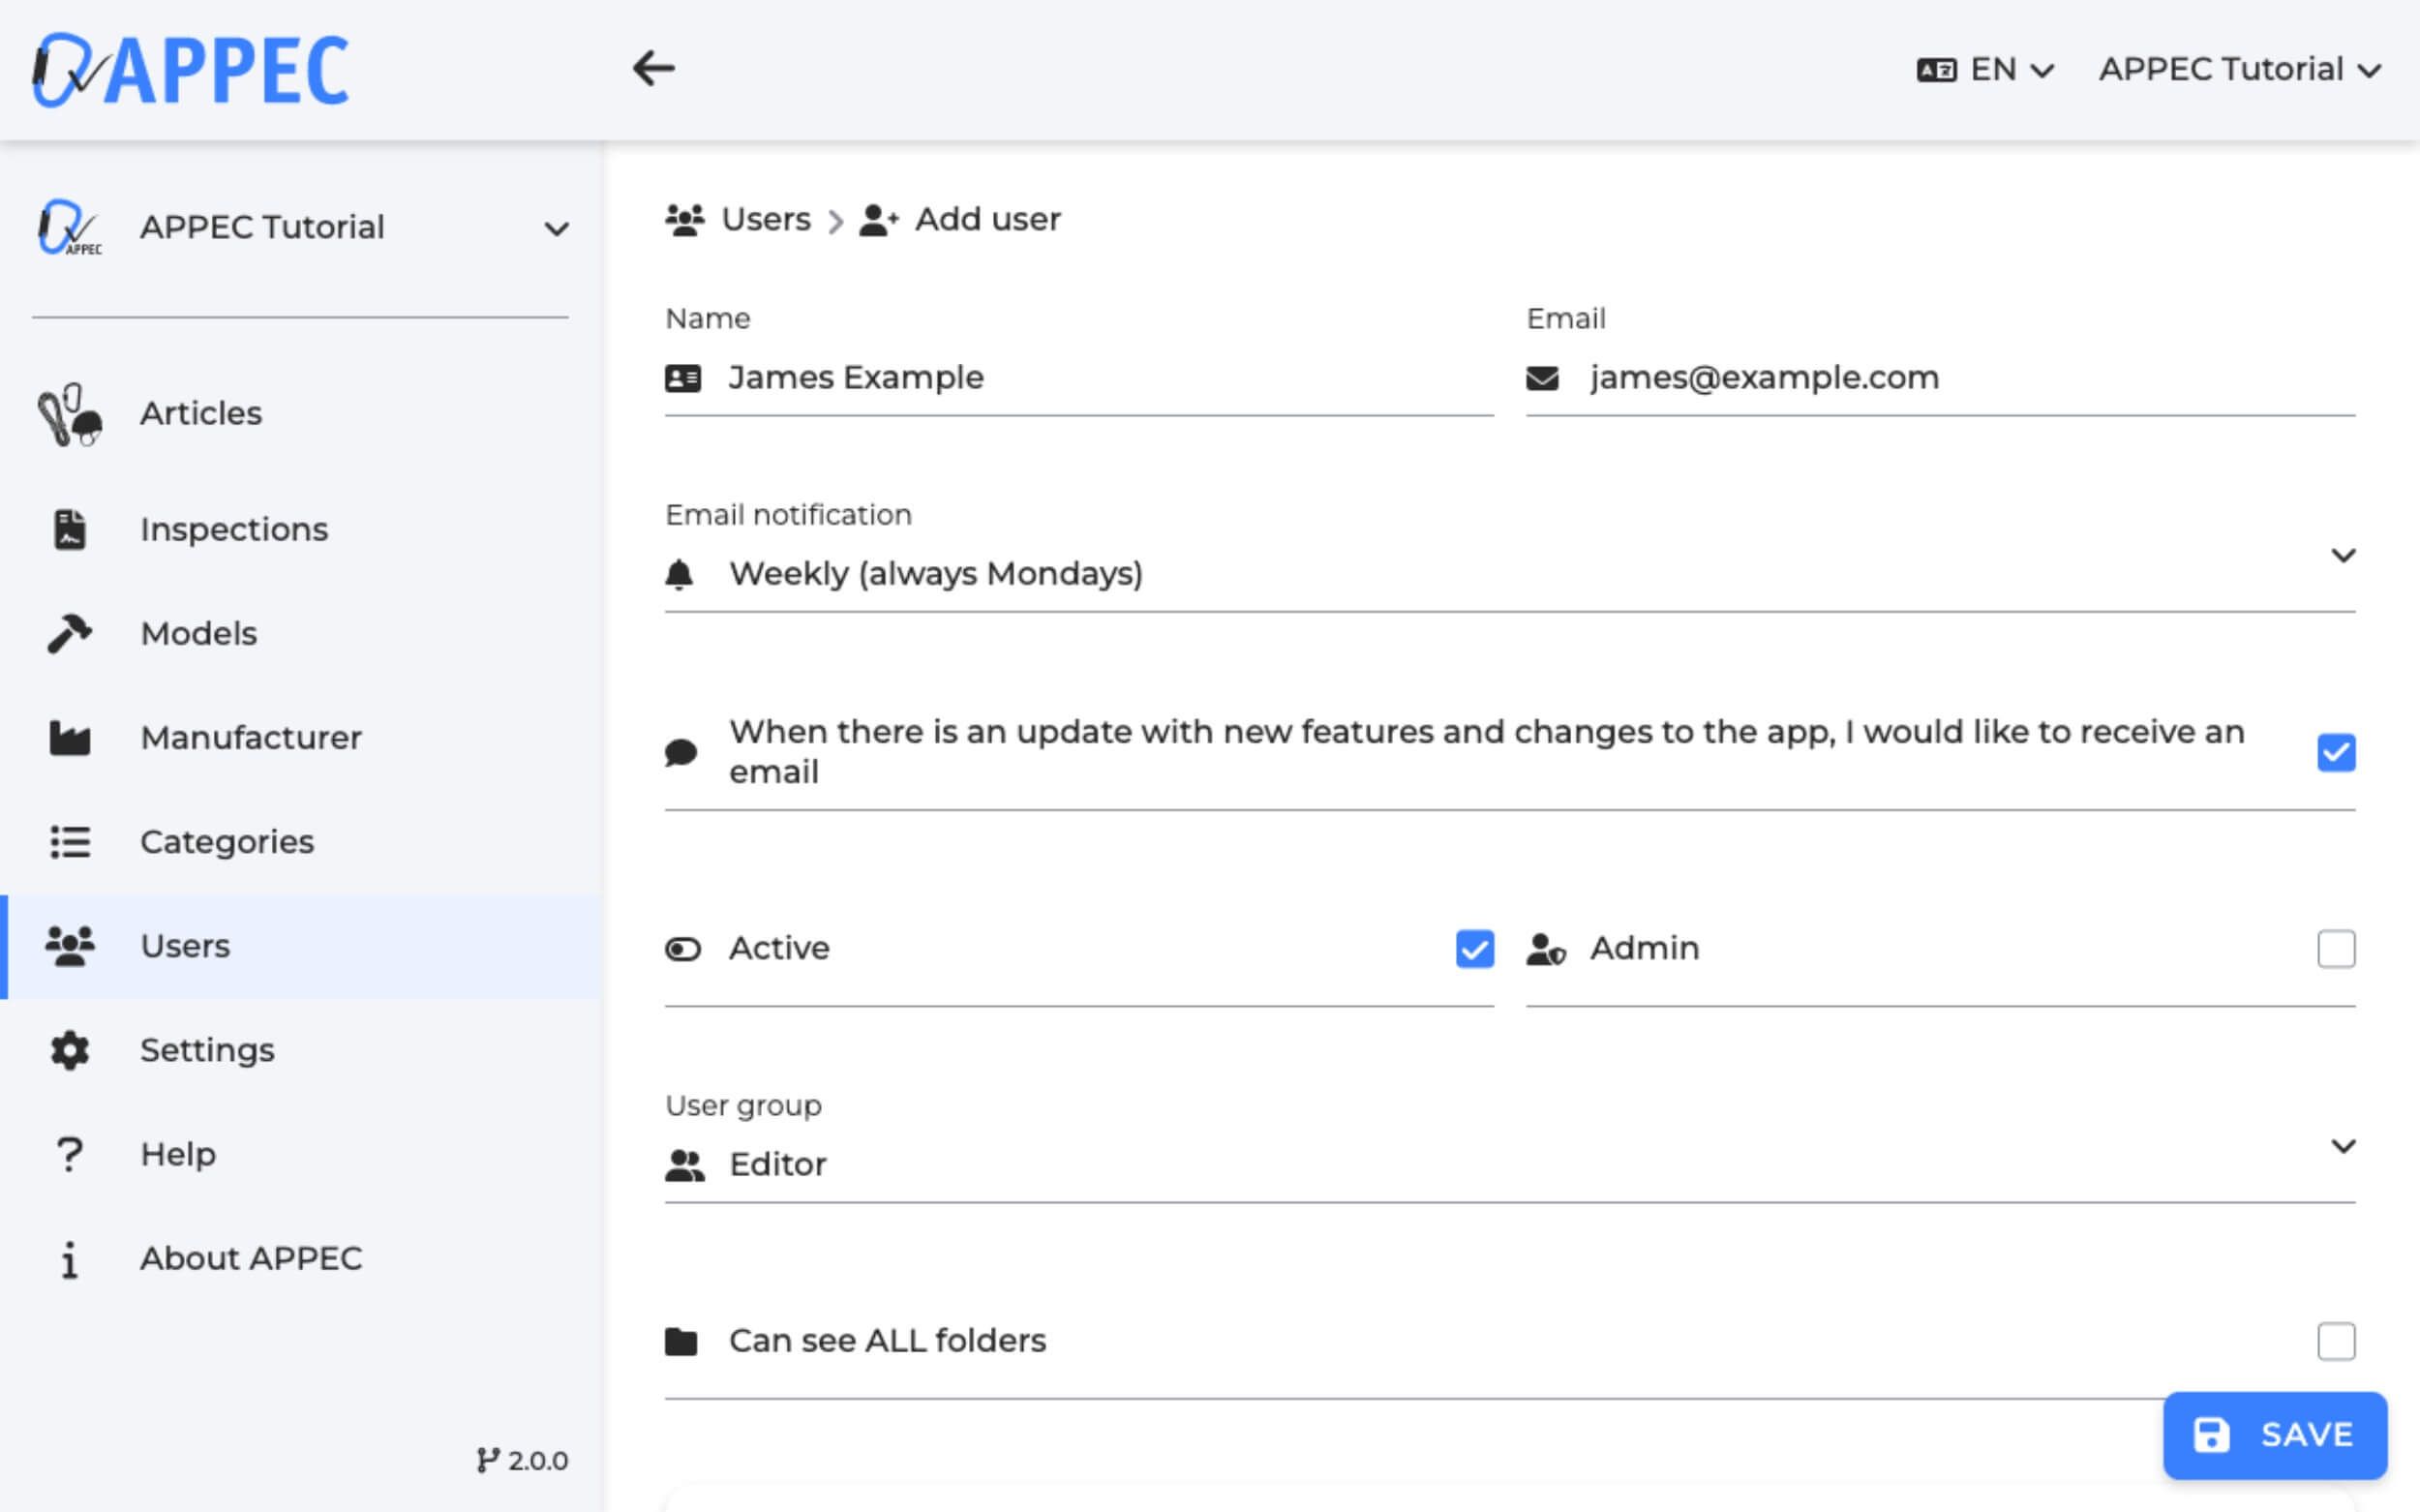
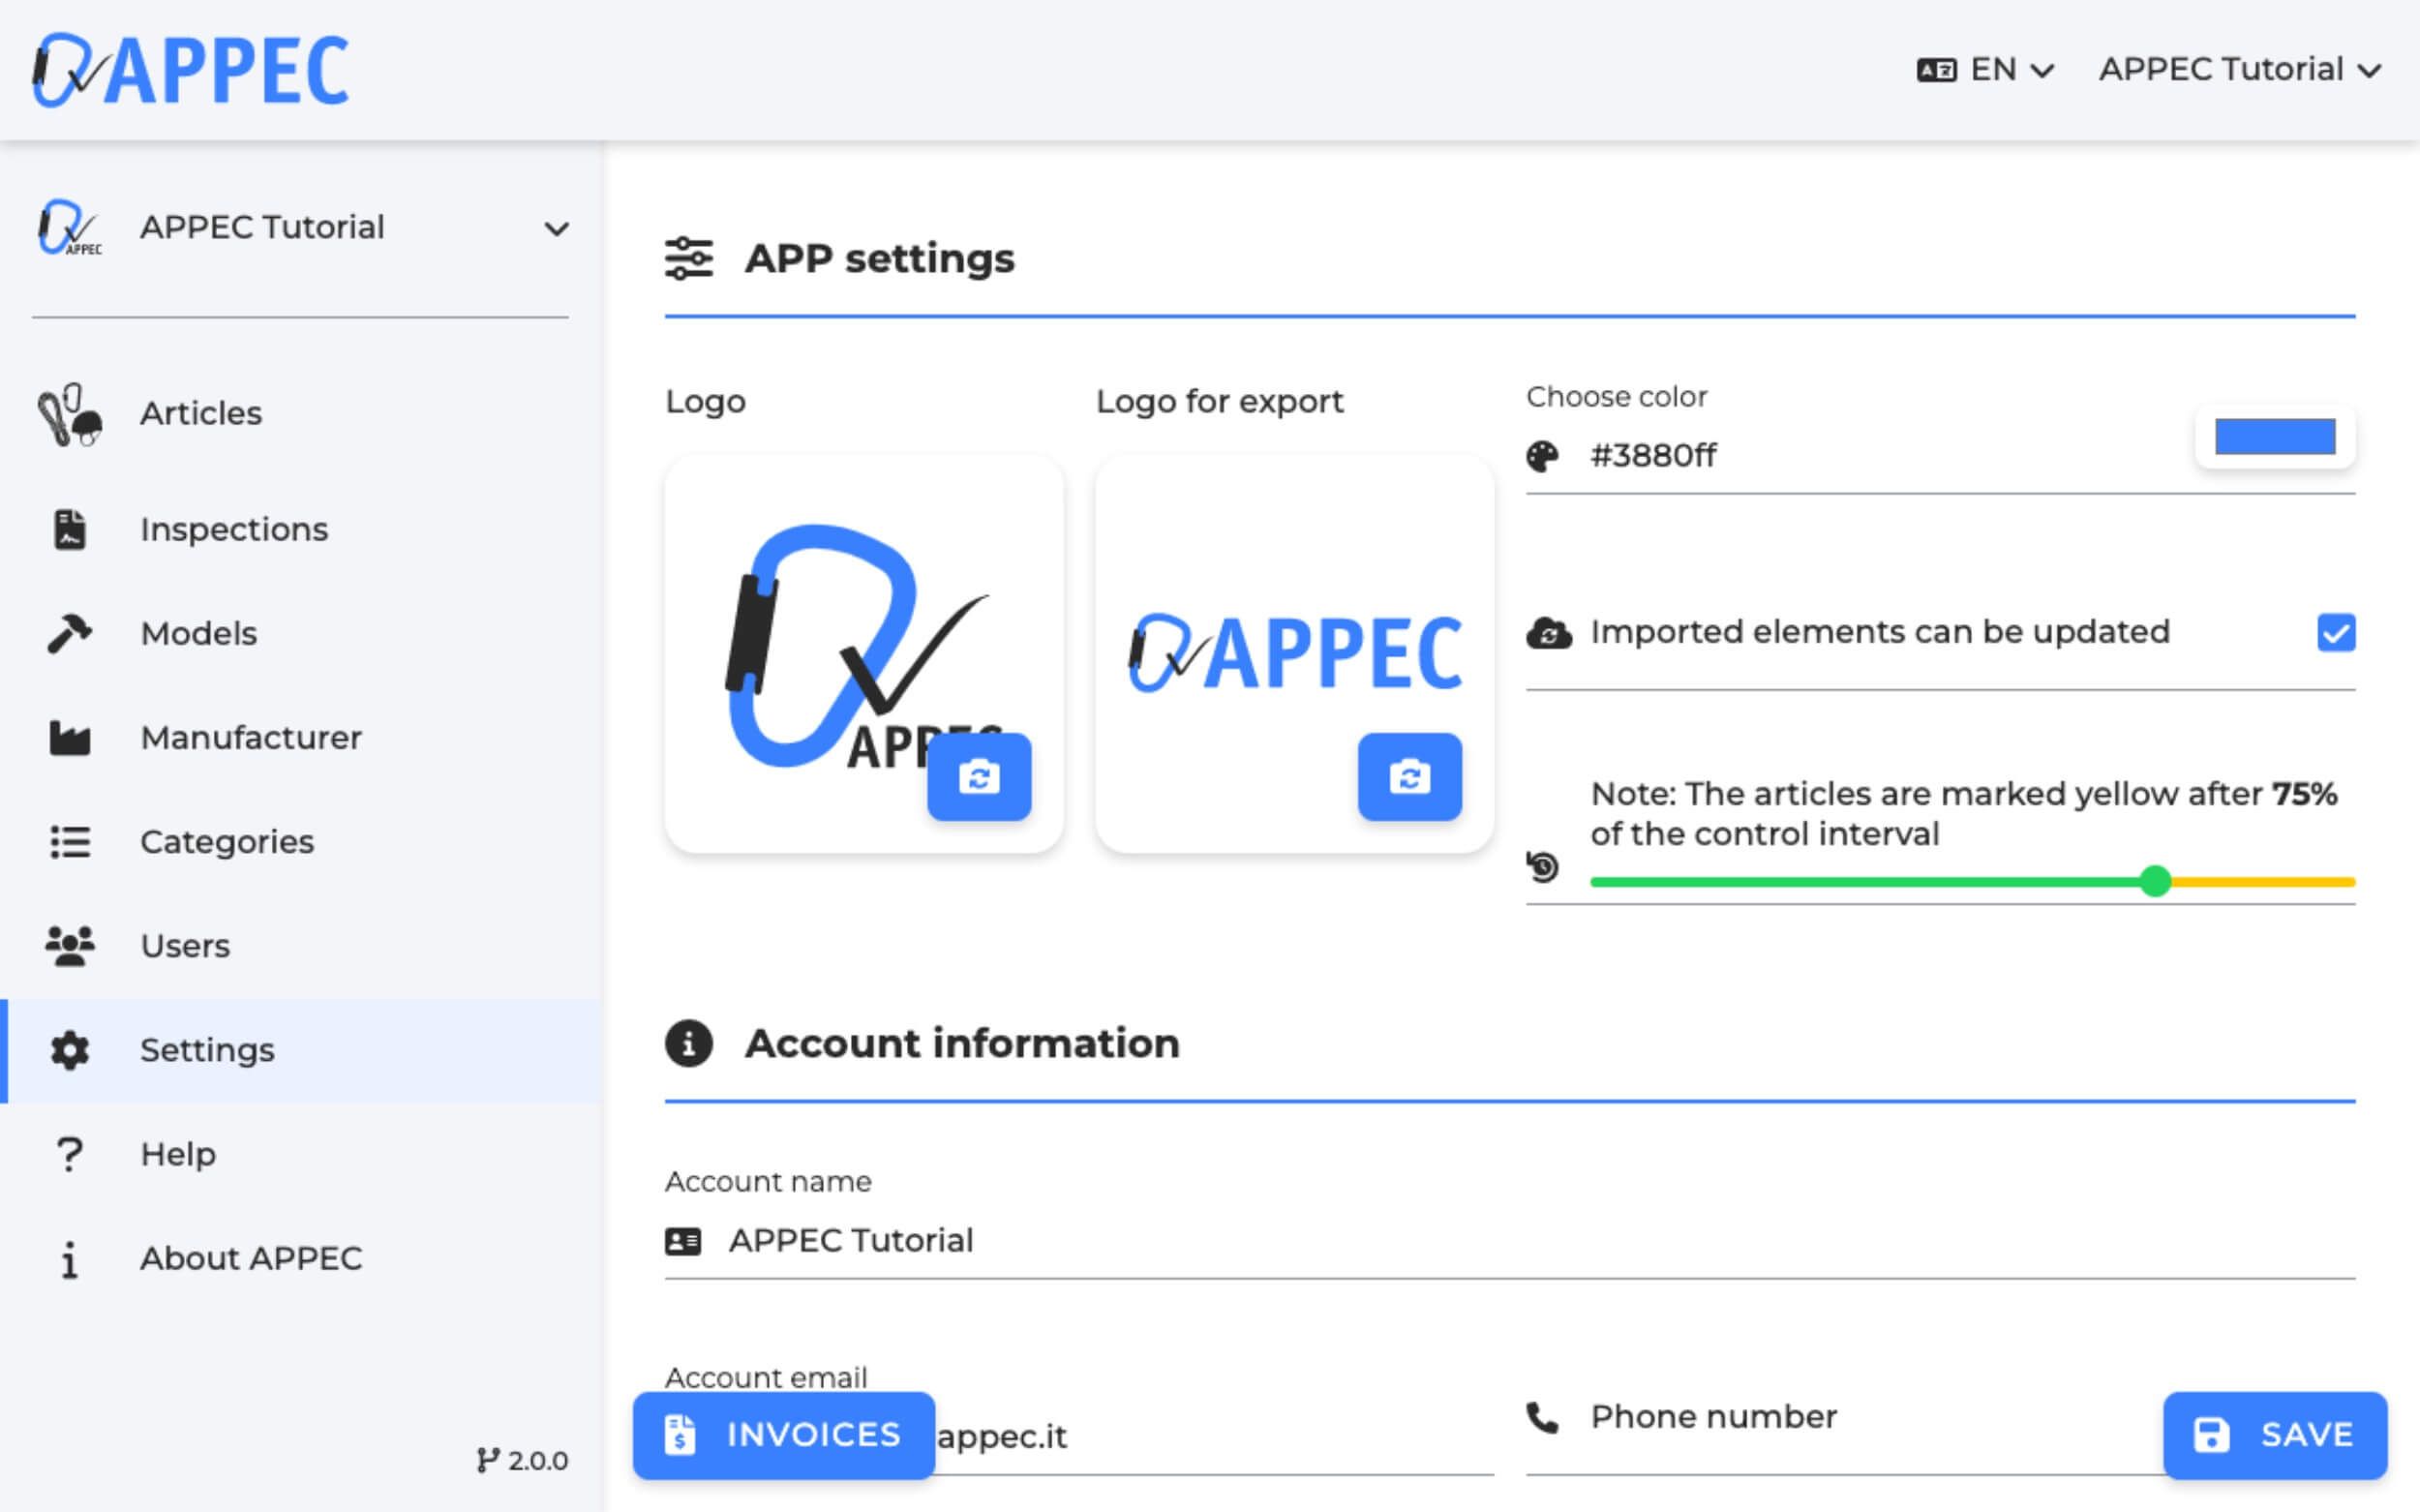
After the successful login, change to the menu item "Settings". 

There you can adjust the color of the surface to your company or your preferences. 

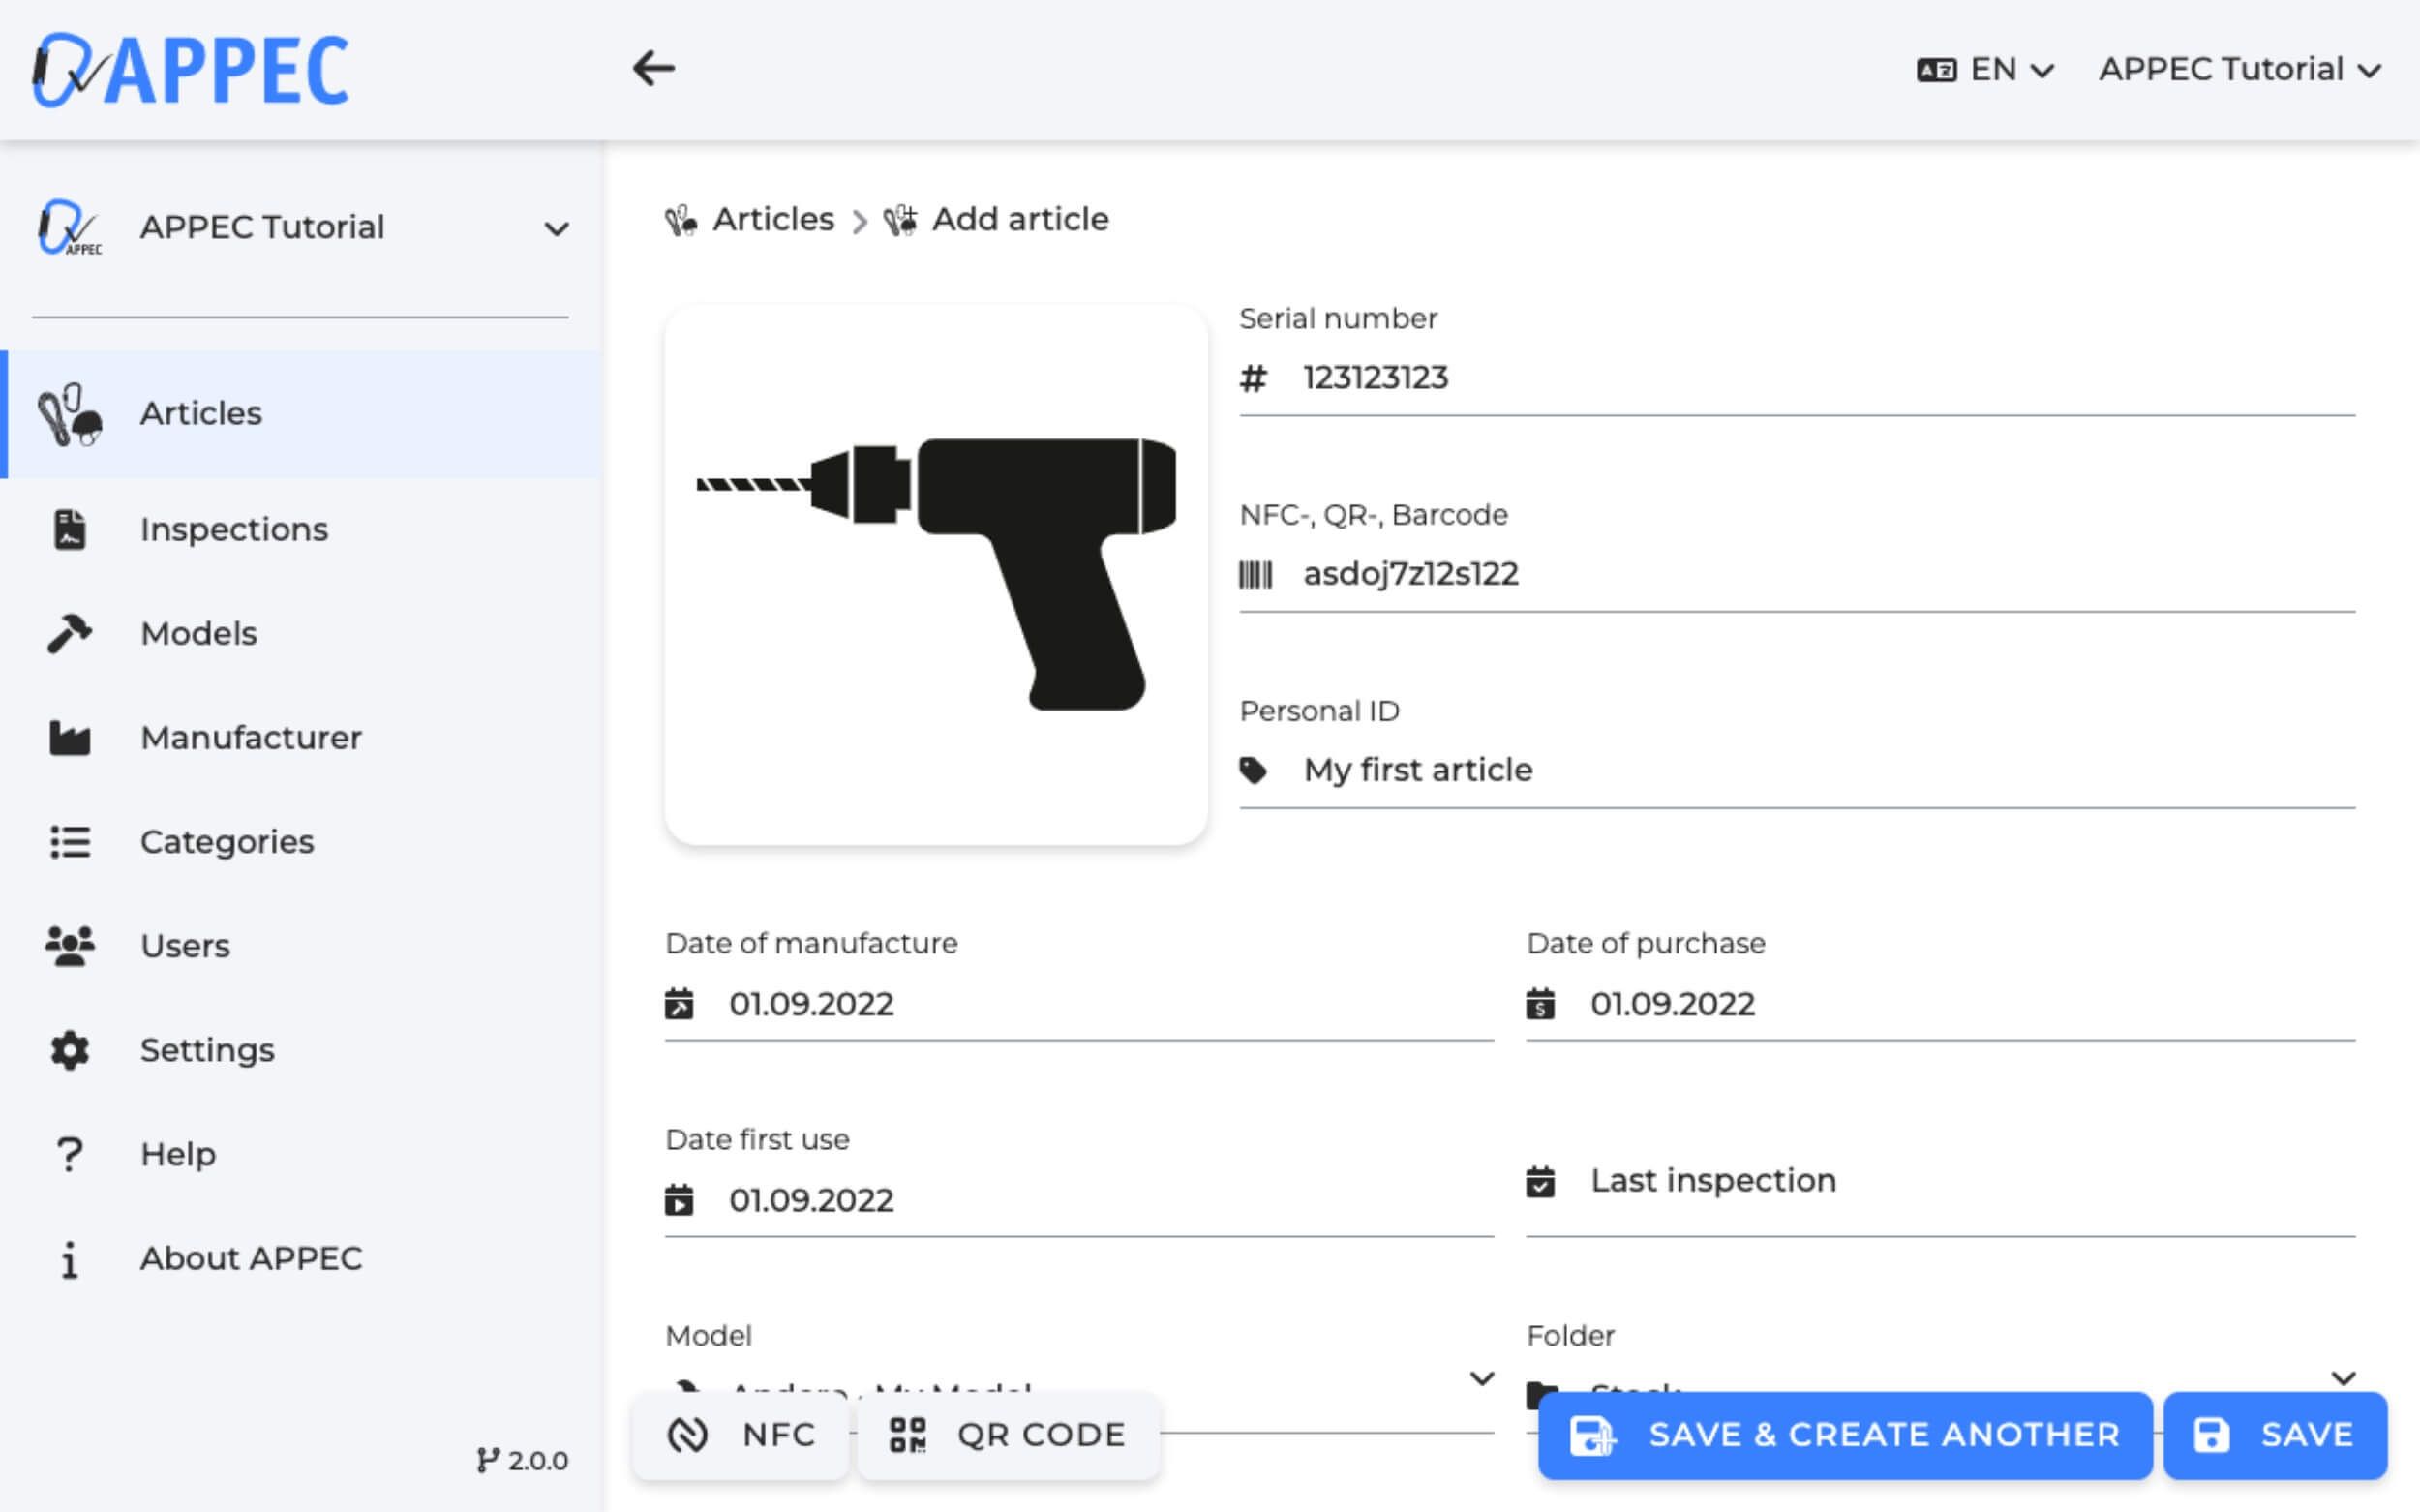
You can then upload your logo, if available. We recommend a logo in PNG format with the dimensions 512x512 px and not larger than 1MB. The logo for export will be inserted in the header of the exported PDFs. The image must be in PNG format and should not be larger than 1MB. We recommend a size of 640×154 px.

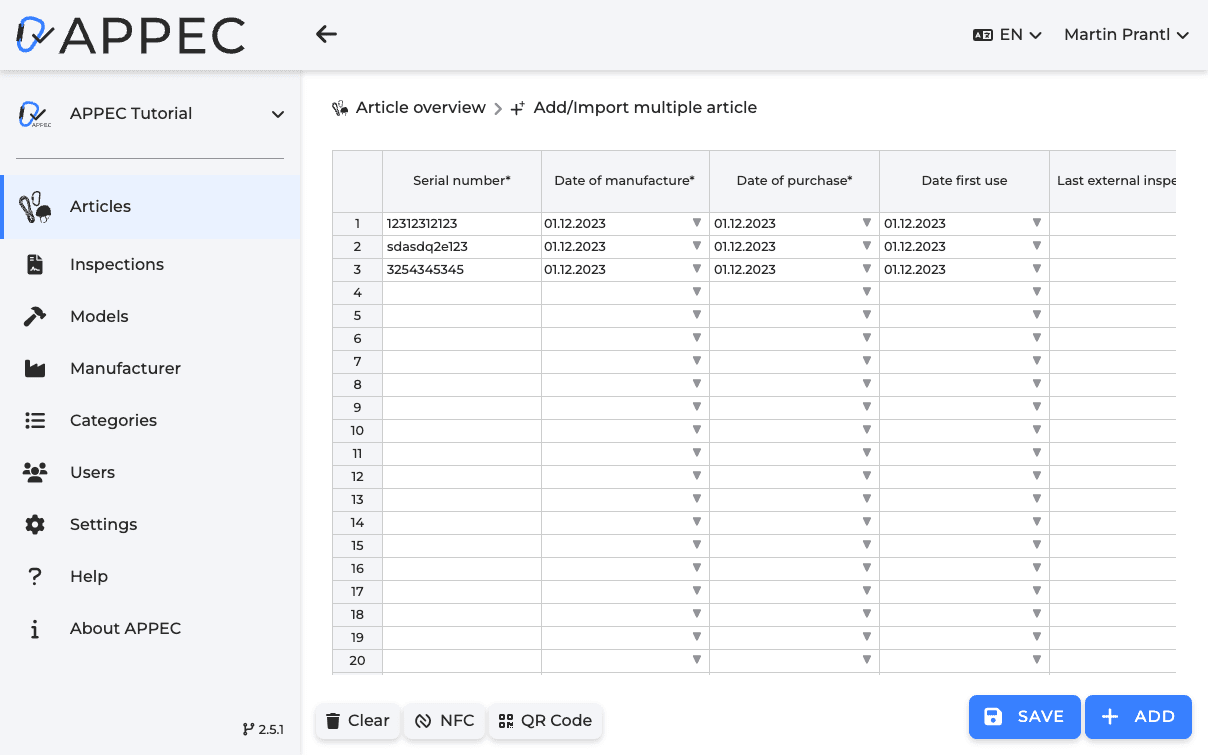
There is a function "Imported elements can be updated". If this feature is active, later imported models, manufacturers and categories can be updated. We recommend to activate this item, it can always be deactivated later.

You can then adjust the control interval. This tells you when the articles reach the yellow state (inspection upcoming). This means, for example, if you enter 90% as the control interval, the articles will turn yellow after 90% of the time elapsed since the last check. For 12 months, this would be about 1 month before the inspection is due.

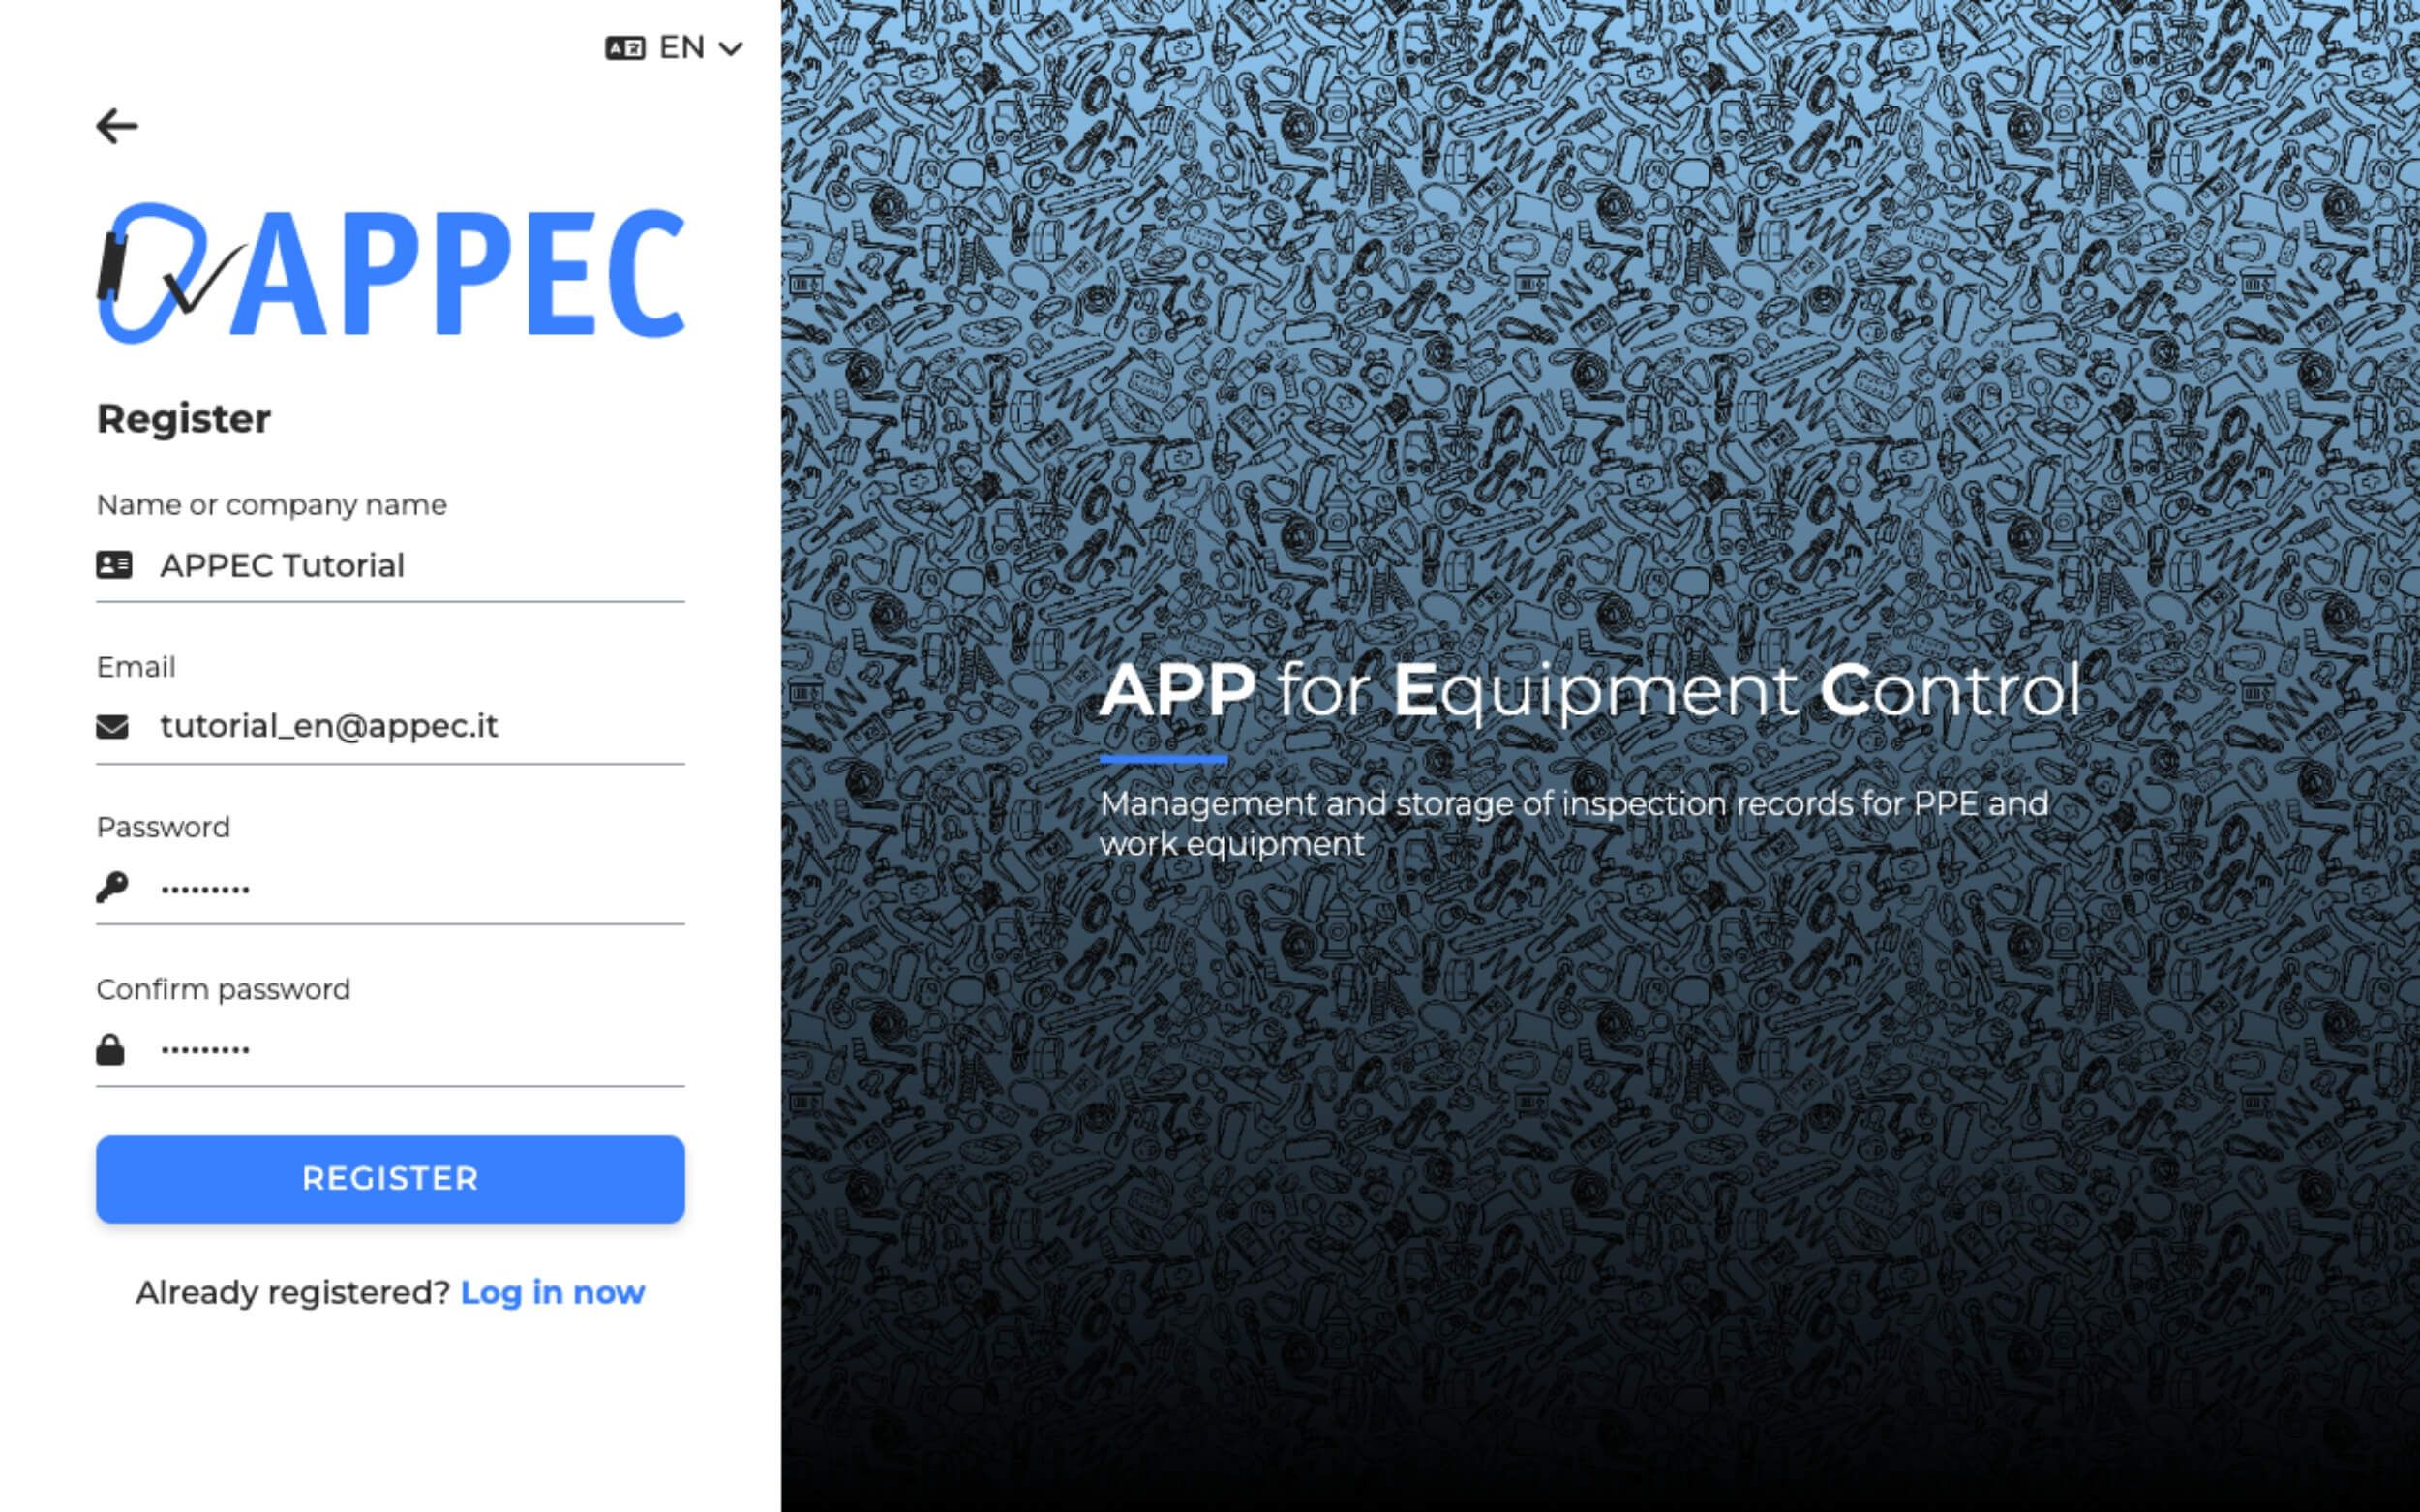
As mentioned above, you can test APPEC for 90 days free of charge. However, if you want to use APPEC permanently, you will need to select a package, enter your billing information in the account information and a payment method.

However, you can also test APPEC first without subscribing to it.

APPEC Anleitung Einstellungen en

3. Import models

We recommend creating or importing the models first at startup. Jump in the menu to the item "Models". Here you can see all the models that are in your database (white background). To create more models, click on the "Add" button. A small selection window opens with the possibility to import models or to create your own model.

When you click on "Import model", the background color of the interface changes, which means you are now in the central database and no longer on your database.
You can now search for models and either import them one at a time by clicking on them and confirming the import, or import multiple models at once by selecting them and clicking "Import" in the upper left corner. When importing, pay attention to the language you have set. The data is always in the set language and will be imported into it. If a green check mark appears next to the image of the model, it has already been imported.

Note: Whenever the background changes, you are in the central database.

If you do not find a suitable model in the central database, you can always create your own, we explain below.

APPEC Anleitung Modell importieren en

4. Add missing categories

After you have imported all the models you have found, and if you need to create more/additional models, but which are not in the Central Database, proceed as follows: First, switch to the "Categories" menu item. By importing models, there should already be some categories here. If a category is missing, click on "Add" again and search the central database for the missing category. If you can't find it, go back to the category overview and click the "Add" button again, then click "Create your own category". Now you can create a new category by yourself.

5. Add missing manufacturers

After you have created all missing categories, switch to the menu item "Manufacturer". There you do the same as in the categories. Add, search, import. Manufacturer not found => create yourself.

6. Add missing models

After you have created all missing manufacturers, switch to the "Models" menu item. There you can now create all missing models yourself. You can also duplicate or change imported models. If you want to change an imported model, we recommend to disconnect it from the central database first. You can do this by clicking on "Disconnect DB" at the bottom left. After that, the model is created as if by itself and can no longer be updated and thus your changed data will not be overwritten.

APPEC Anleitung Modell anlegen en

7. Add folders

After you have created or imported all models, switch to the "Articles" item. There you will later find all articles and folders, which you can search for using the filter, search field, NFC, QR or barcode. 

We recommend that you first create a folder system with the different areas/companies that suit you (Vehicles, Personal Equipment, Magazine, Sets, ...). You can create folders by clicking on "Add" in the bottom right corner and then on "Add folder". You can also attach a picture to the folder to better distinguish it later.

The better you create the structure, the easier you will find your articles later.

APPEC Anleitung Ordner anlegen en

8. Add articles

To add an article, click on the "Add" button and then on "Add article". A form will open again. There you enter all the data of the article. At the field "NFC-ID / QR-Code / Barcode" you can click on the buttons "Scan NFC" or "Scan QR-Code" below. Depending on the device, you can scan the codes. If the device does not support these functions, you can enter the NFC, QR code or barcode manually. After you have entered all the data of the article, click "Save". 

Note: To be faster when creating the articles, we recommend to create the same or similar articles one after the other and use the button "Save & continue creating", then the article will be created and only the fields serial number and NFC ID / QR code / barcode will be cleared.

APPEC Anleitung Artikel erstellen en

9. Add employees

After you have created the folders and articles, you can give your employees access to your account. Each employee can later simply log in to APPEC with their credentials and use it. 
We have predefined 2 usergroups "Editor" and "Visitor". Of course you can change or delete these. You can also create your own user groups and adjust the rights of the group individually.

For employees, you can set which folders you have access to.

There are three types of folder rights:

 neutral checkbox 
The rights from the parent folder apply. If this does not have a parent folder, the employee will not have access to this folder and its subfolders

 activated checkbox
The employee has access to this folder, but only if he also has parent access or does not have a parent folder. If this folder is moved, the employee also retains the rights of the folder, but also only if the parent is visible to the user in the new folder.

 deactivated checkbox
The employee has no access to this folder and its subfolders.

APPEC Anleitung Benutzer anlegen en

10. Starting with inspections

After preparing all the data, you can start the inspections. To do that, select an article to be inspected and click the "Add inspection" button. If this article has different inspection intervals, a pop-up window will appear where you can select the inspections you want to make. After that, a form with the exam questions will appear. You need to fill this out and save it.

If an article is not in order, you can answer one question negatively and save it. This will ask if you want to discard the article. To put an article back into service, you can simply edit the inspection (goes only for a few days) or create a new inspection and there it will ask if you want to put the article back into service. 

You can also perform a collective check by selecting a folder or several articles and then clicking on "Inspect" in the action menu. All articles will then be checked one after the other. If you do not want to check an article, you can simply skip it. If an article is not found, you can mark it as "not found".

APPEC Anleitung Prüfung anlegen en

11. Export data

After you have performed all inspections, you can select and export the inspections in the "Inspections" menu item. We recommend uploading them to a certified server.

APPEC Anleitung Prüfungen exportieren en